


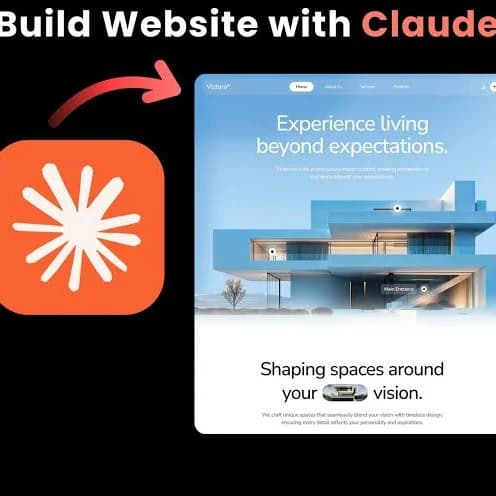
I used to think building a portfolio website meant learning how to code or paying a web designer.
That was before I came across a video of a creator sharing how she created her portfolio website using Claude AI.
I tried it and I was able to build an entire portfolio website in minutes. All I had to do was edit a few things and publish it.
Here’s exactly how I did it:
1. Gather Your Information
Before opening Claude, have these ready:
-Your name
-A short bio
-Your skills
-Projects you’ve worked on
-Your CV
-Contact details
-Links to your LinkedIn, GitHub or social media
2. Ask Claude to Build the Website
Use a prompt like:
“Create a modern, responsive portfolio website using HTML and CSS for a content writer. Include a hero section, about me, projects, skills, testimonials and a contact section. Make it mobile-friendly and professional.”
Claude will generate the complete code.
3. Personalise Everything
Replace the sample text with your own information.
Add your photo.
Include screenshots or links to your best work.
4. Preview the Website
Copy the code into a free online editor like:
-CodePen
-Replit
-JSFiddle
This lets you see what your website looks like before publishing.
5. Publish It for Free
Once you’re happy with the design, upload it to:
-GitHub Pages
-Netlify
-Cloudflare Pages
All three let you host a simple portfolio website for free.
6. Keep Improving It
Whenever you complete a new project, ask Claude to update your portfolio.
For example:
“Add a new project section for a content marketing campaign that increased website traffic by 45%.”
It only takes a few minutes.
Claude can build the website, but your portfolio is only as good as the work you showcase.
Don’t try to impress people with fancy animations. Focus on showing real projects, explaining the problems you solved, and making it easy for people to contact you.
A simple portfolio with strong work will almost always beat a beautiful website with nothing meaningful on it.
If you have any questions, please let me know in the comments.