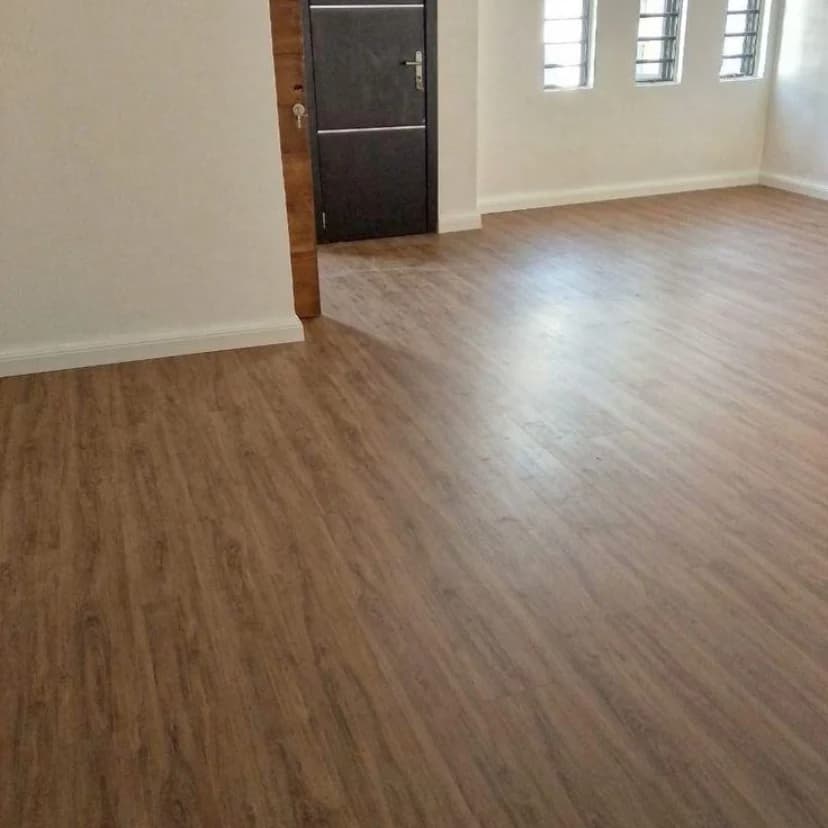
I always assumed installing vinyl flooring was something only professionals could do.
After getting a few labour quotes, I decided to try it myself.
It took an afternoon, a bit of patience, and it turned out much better than I expected.
If you’re thinking of giving your room a quick makeover, here’s the process I followed.
What You’ll Need
* Vinyl floor tiles (self-adhesive or glue-down)
* Measuring tape
* Utility knife
* Metal ruler or straight edge
* Pencil
* Spirit level (optional)
* Roller or heavy object for pressing tiles
* Broom or vacuum
Step 1: Clean the Floor Thoroughly
This is probably the most important step.
Sweep and mop the floor to remove dust, sand, grease, and loose particles.
Vinyl sticks much better to a clean, dry surface.
Step 2: Measure the Room
Measure the length and width of the room.
Buy about 10% extra tiles to account for cuts and mistakes.
Trust me, you’ll need them.
Step 3: Find the Centre
Instead of starting from one corner, mark the centre of the room.
Laying tiles from the middle usually gives a neater finish, especially around the edges.
Step 4: Lay the First Tiles
Remove the backing (if using peel-and-stick tiles).
Place the first tile carefully.
Once it sticks, repositioning becomes difficult.
Work one row at a time.
Step 5: Cut Edge Pieces
When you reach the walls:
* Measure the remaining space.
* Mark the tile.
* Cut it with a utility knife and metal ruler.
Don’t rush this part.
Neat cuts make the entire floor look professionally installed.
Step 6: Press Everything Firmly
Use a floor roller or even a heavy bucket to press each tile down.
Pay extra attention to the edges and corners.
This helps prevent lifting later.
Things to Note Before Starting
✅ Let the vinyl tiles sit in the room for 24 hours before installation. This helps them adjust to the room temperature.
✅ Don’t install over wet or uneven floors.
✅ Check your pattern every few rows.
A tiny mistake at the beginning becomes very obvious by the end.
✅ If you’re using glue-down vinyl, allow enough drying time before moving furniture back.
Was It Worth It? Absolutely.
The room instantly looked newer, the floor became easier to clean, and I saved a decent amount on installation costs.
It’s one of those DIY projects that’s much less intimidating once you actually start.
Have you ever installed vinyl flooring yourself? Any tips you’d add for someone trying it for the first time?